Aurora Visio Studio TOP » Program Examples » Dynamic Template Matching
Dynamic Template Matching
目的
The aim of this program is to create a dynamic template for matching purposes.
Input
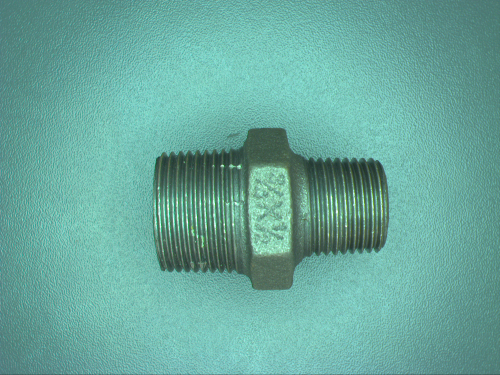
Image from the Web Camera.

Output
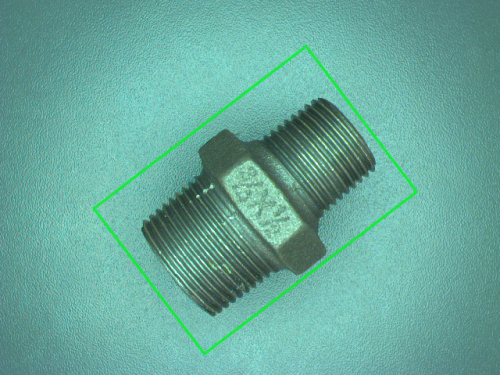
Rectangle-shaped match to the object in the image. In this example we used an image from an industrial camera, however the example is meant to be for online tests. It depends on user's intention what exactly should be detected.

ヒント
To create such an application we need filters to grab a frame from the Web Camera and the Template Matching filters.
接続のラベル付けについては こちらを参照ください。
Solution (AVS)
- Add the WebCamera_GrabImage filter to the ACQUIRE section.
- Add the ResizeImage filter to the ACQUIRE section and connect the outFrame from the previous filter with the inImage input.
- Set the inNewWidth to 640 and the inNewHeight to 480 in Properties window of the ResizeImage filter.
- Add a new Variant macrofilter to the PROCESS section and name it CreateModel.
- Create HMI by clicking on the HMI button on the upper toolbar.
- Add to the HMI a selectingVideoBox and an impulseButton beneath.
- Name the button Create Model (changes are made in Properties window in the lower left corner of AVS)
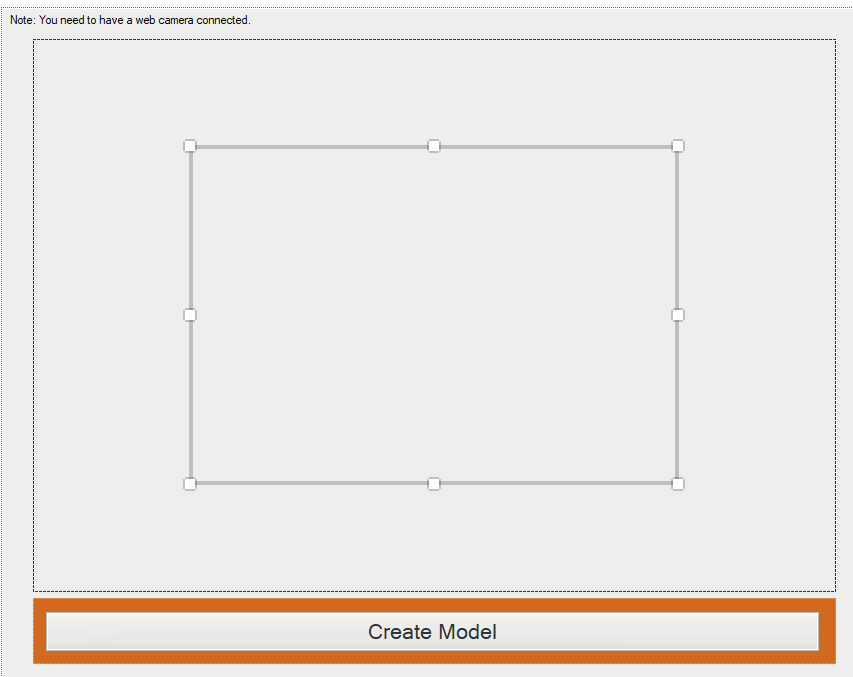
- Make your HMI looks like on this image:

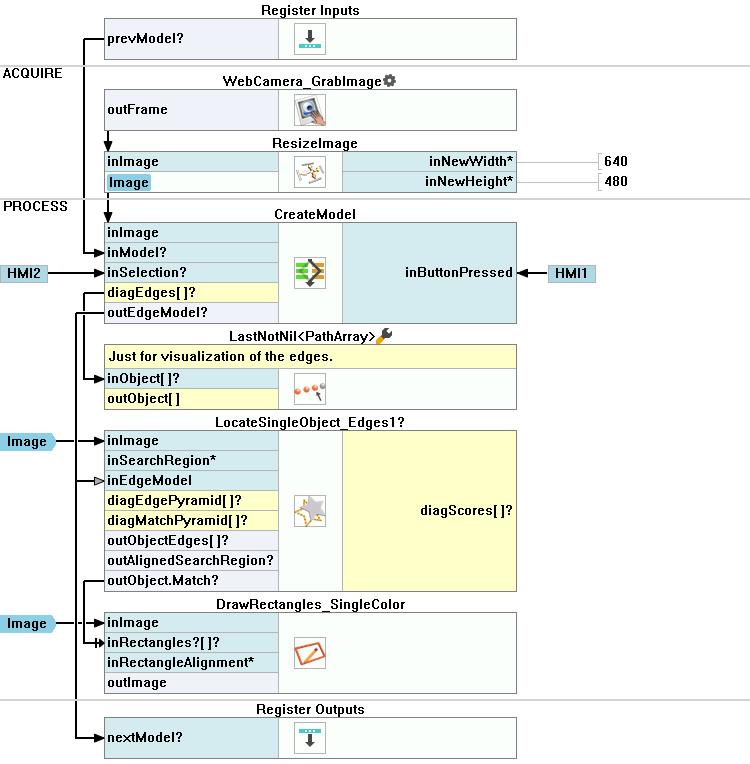
- Perform these connections between HMI and program:
- In the CreateModel step for the variant "true" add the CreateBoxRegion filter.
- Right-click on the inImage macrofilter input, find Property Outputs and select the Width and the Height.
- Connect them to the inFrameWidth and the inFrameHeight respectively.
- Connect the inSelection? from macrofilter's input with the inBox of the CreateBoxRegion filter's input.
- Add the CreateEdgeModel1 filter.
- Connect the image to the inImage.
- Connect the outRegion to the inTemplateRegion.
- Connect the outEdges and the outEdgeModel to the macrofilter outputs.
- Set these new values: the inEdgeThreshold to 60, the inEdgeHysteresis to 40, the inMinAngle to -45 and finally the inMaxAngle to 45.
- Skip to variant "False" and just connect the inModel with the outEdgeModel.
- Add the LastNotNil filter after the CreateModel macrofilter. In a new window of choosing generic filter data type select "Choose later". Connect the outEdges to it. Click OK.
- Add the LocateSingleObject_Edges1 filter.
- Click on "Show Ports" on this filter and choose the inEdgeModel.
- Connect the outEdgeModel output from the CreateModel and the outImage from the ResizeImage to the current filter.
- In Properties window change default value of the LocateSingleObjects_Edges1 to auto and set the inMinScore to 0.6.
- Add the the DrawRectangles_SingleColor and connect the outObject.Match to the inRectangles and connect the image from the ResizeImage filter to the inImage. Connect the outImage to the inImage on the HMI input of the selectingVideoBox.
- Connect the outEdgeModel from the CreateModel to the macrofilter's output nextModel.
マクロフィルタ メイン

使用したフィルタ
| アイコン | 名前 | 説明 |
|---|---|---|
| WebCamera_GrabImage | Not recommended for industrial operation. | |
| CreateEdgeModel1 | Dynamic creation of models in the runtime environment (normally they are created interactively in Studio). | |
| LastNotNil | Returns the last value passed that existed. | |
| LocateSingleObject_Edges1 | 輪郭がシャープで硬い物体の検出。 多くの場合、プログラムの最初のフィルターの 1 つです。 | |
| ResizeImage | Enlarges or shrinks an image to new dimensions. | |
| DrawRectangles_SingleColor | 画像上に単色で四角形を描画します。 | |
| CreateBoxRegion | 指定されたボックスに対応する矩形領域を作成します。 |
その他の資料
- テンプレートマッチング - テンプレート マッチング テクニックの最も詳細な説明をしています。

